
Influenced by both Natalie Freed and Bryon Gysin, this project used a Turtle Blocks design and an Epilog laser to etch the design in a sheet of rubber. The rubber was contact cemented to a piece of PVC tubing. I designed and 3D printed caps that fit in 3/4" PVC tubing with a hole the right size for a welding rod, like Ms. Freed's design. You can download and 3D print them, too.

I used Speedball ink and a hard rubber brayer to spread the ink on an old magazine cover, an easy to clean up technique I learned while volunteering at the Center for Contemporary Printmaking. The rubber roller stamp was then rolled over the spread ink.

It took a little practice to learn how far I could roll on the paper before needing to re-ink, the correct pressure to use so the roller rotated freely, and realizing I needed to remove the binder clip "handles" so they did not interfere with rolling. I got some good prints, though.

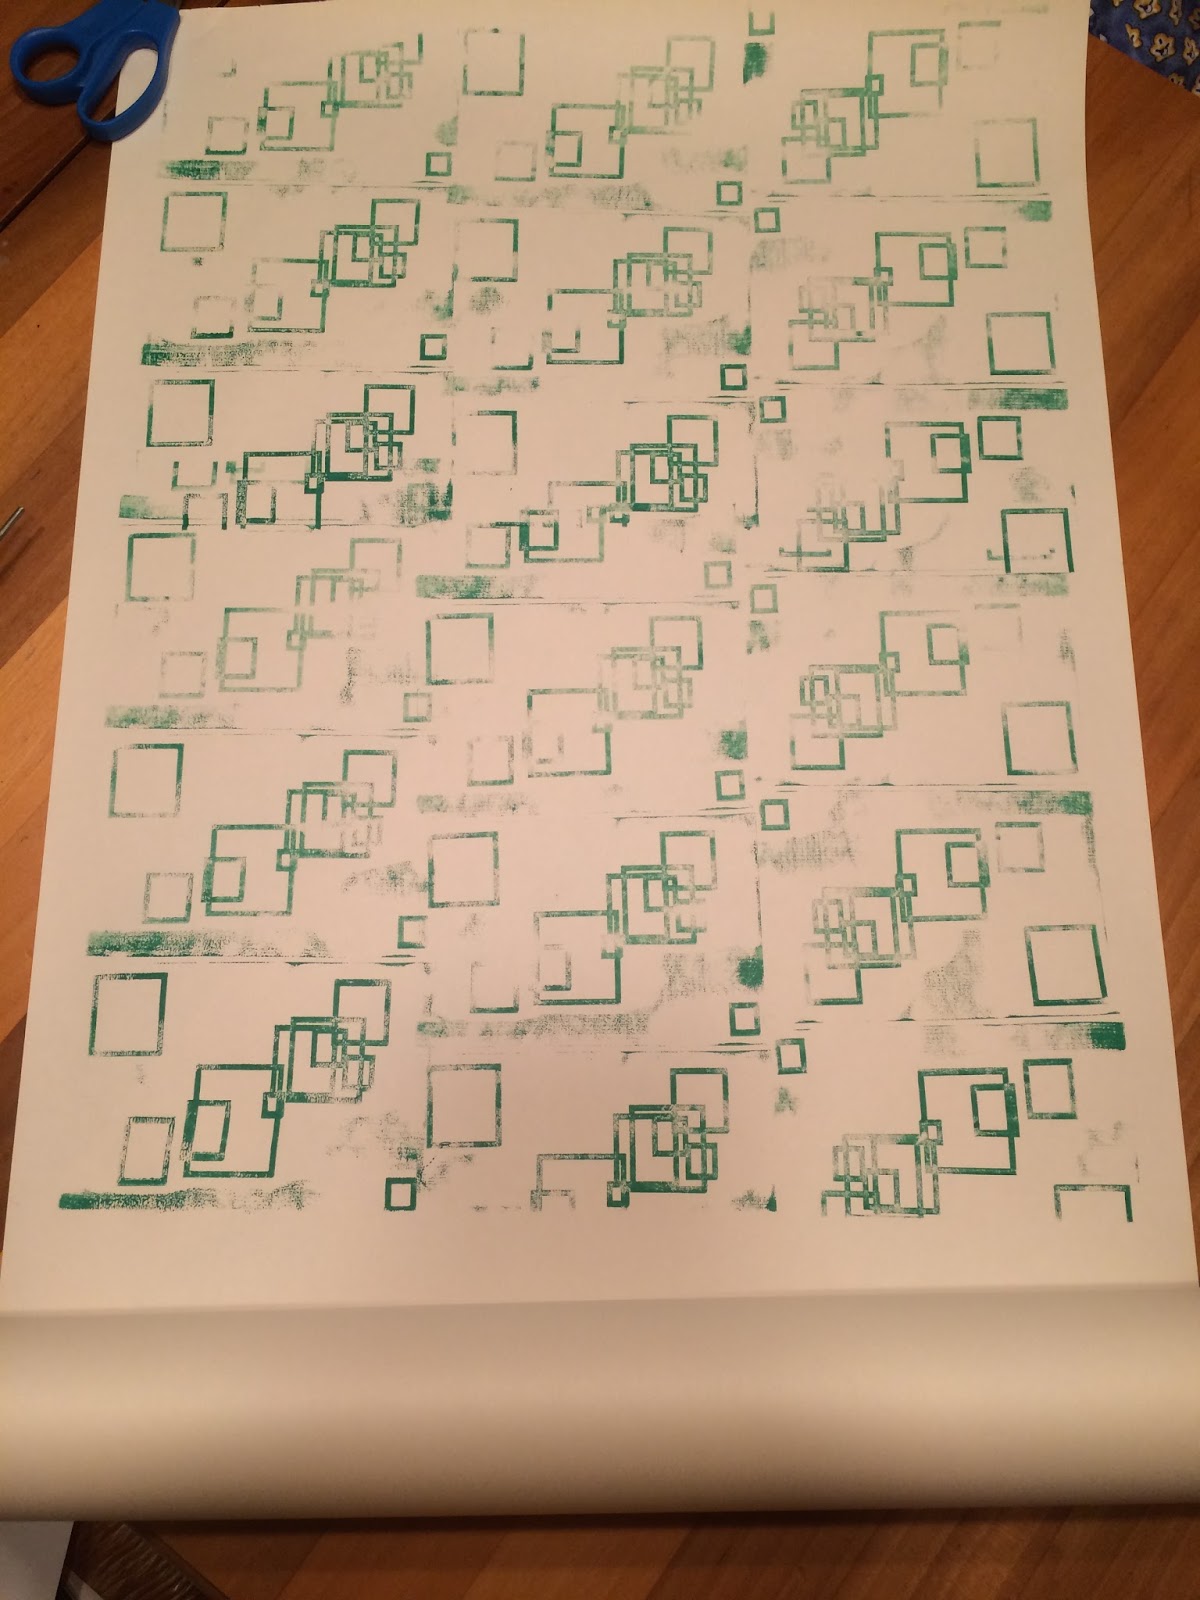


I intend to use the paper as wrapping paper for the holidays.
The design is etched 1mm tall and needs to be taller yet to help keep the "base" from being inked and transferring to the paper, though that does add to the design. It would be interesting, perhaps, to go back over the design with a second color ink, perhaps at an angle. As I cleaned the brayer and stamp I played a bit with the idea of rolling at different overlapping angles.

If you can find some time on a laser cutter/etcher, this is an easy to accomplish, fun project. By combining Logo programming and fabrication, this project explores the transition from bits to atoms and creates a tool that allows for increasingly complex artifacts to be produced.
Comments